


OneDrive vs Google Drive
Google Workspace 21.12.2023 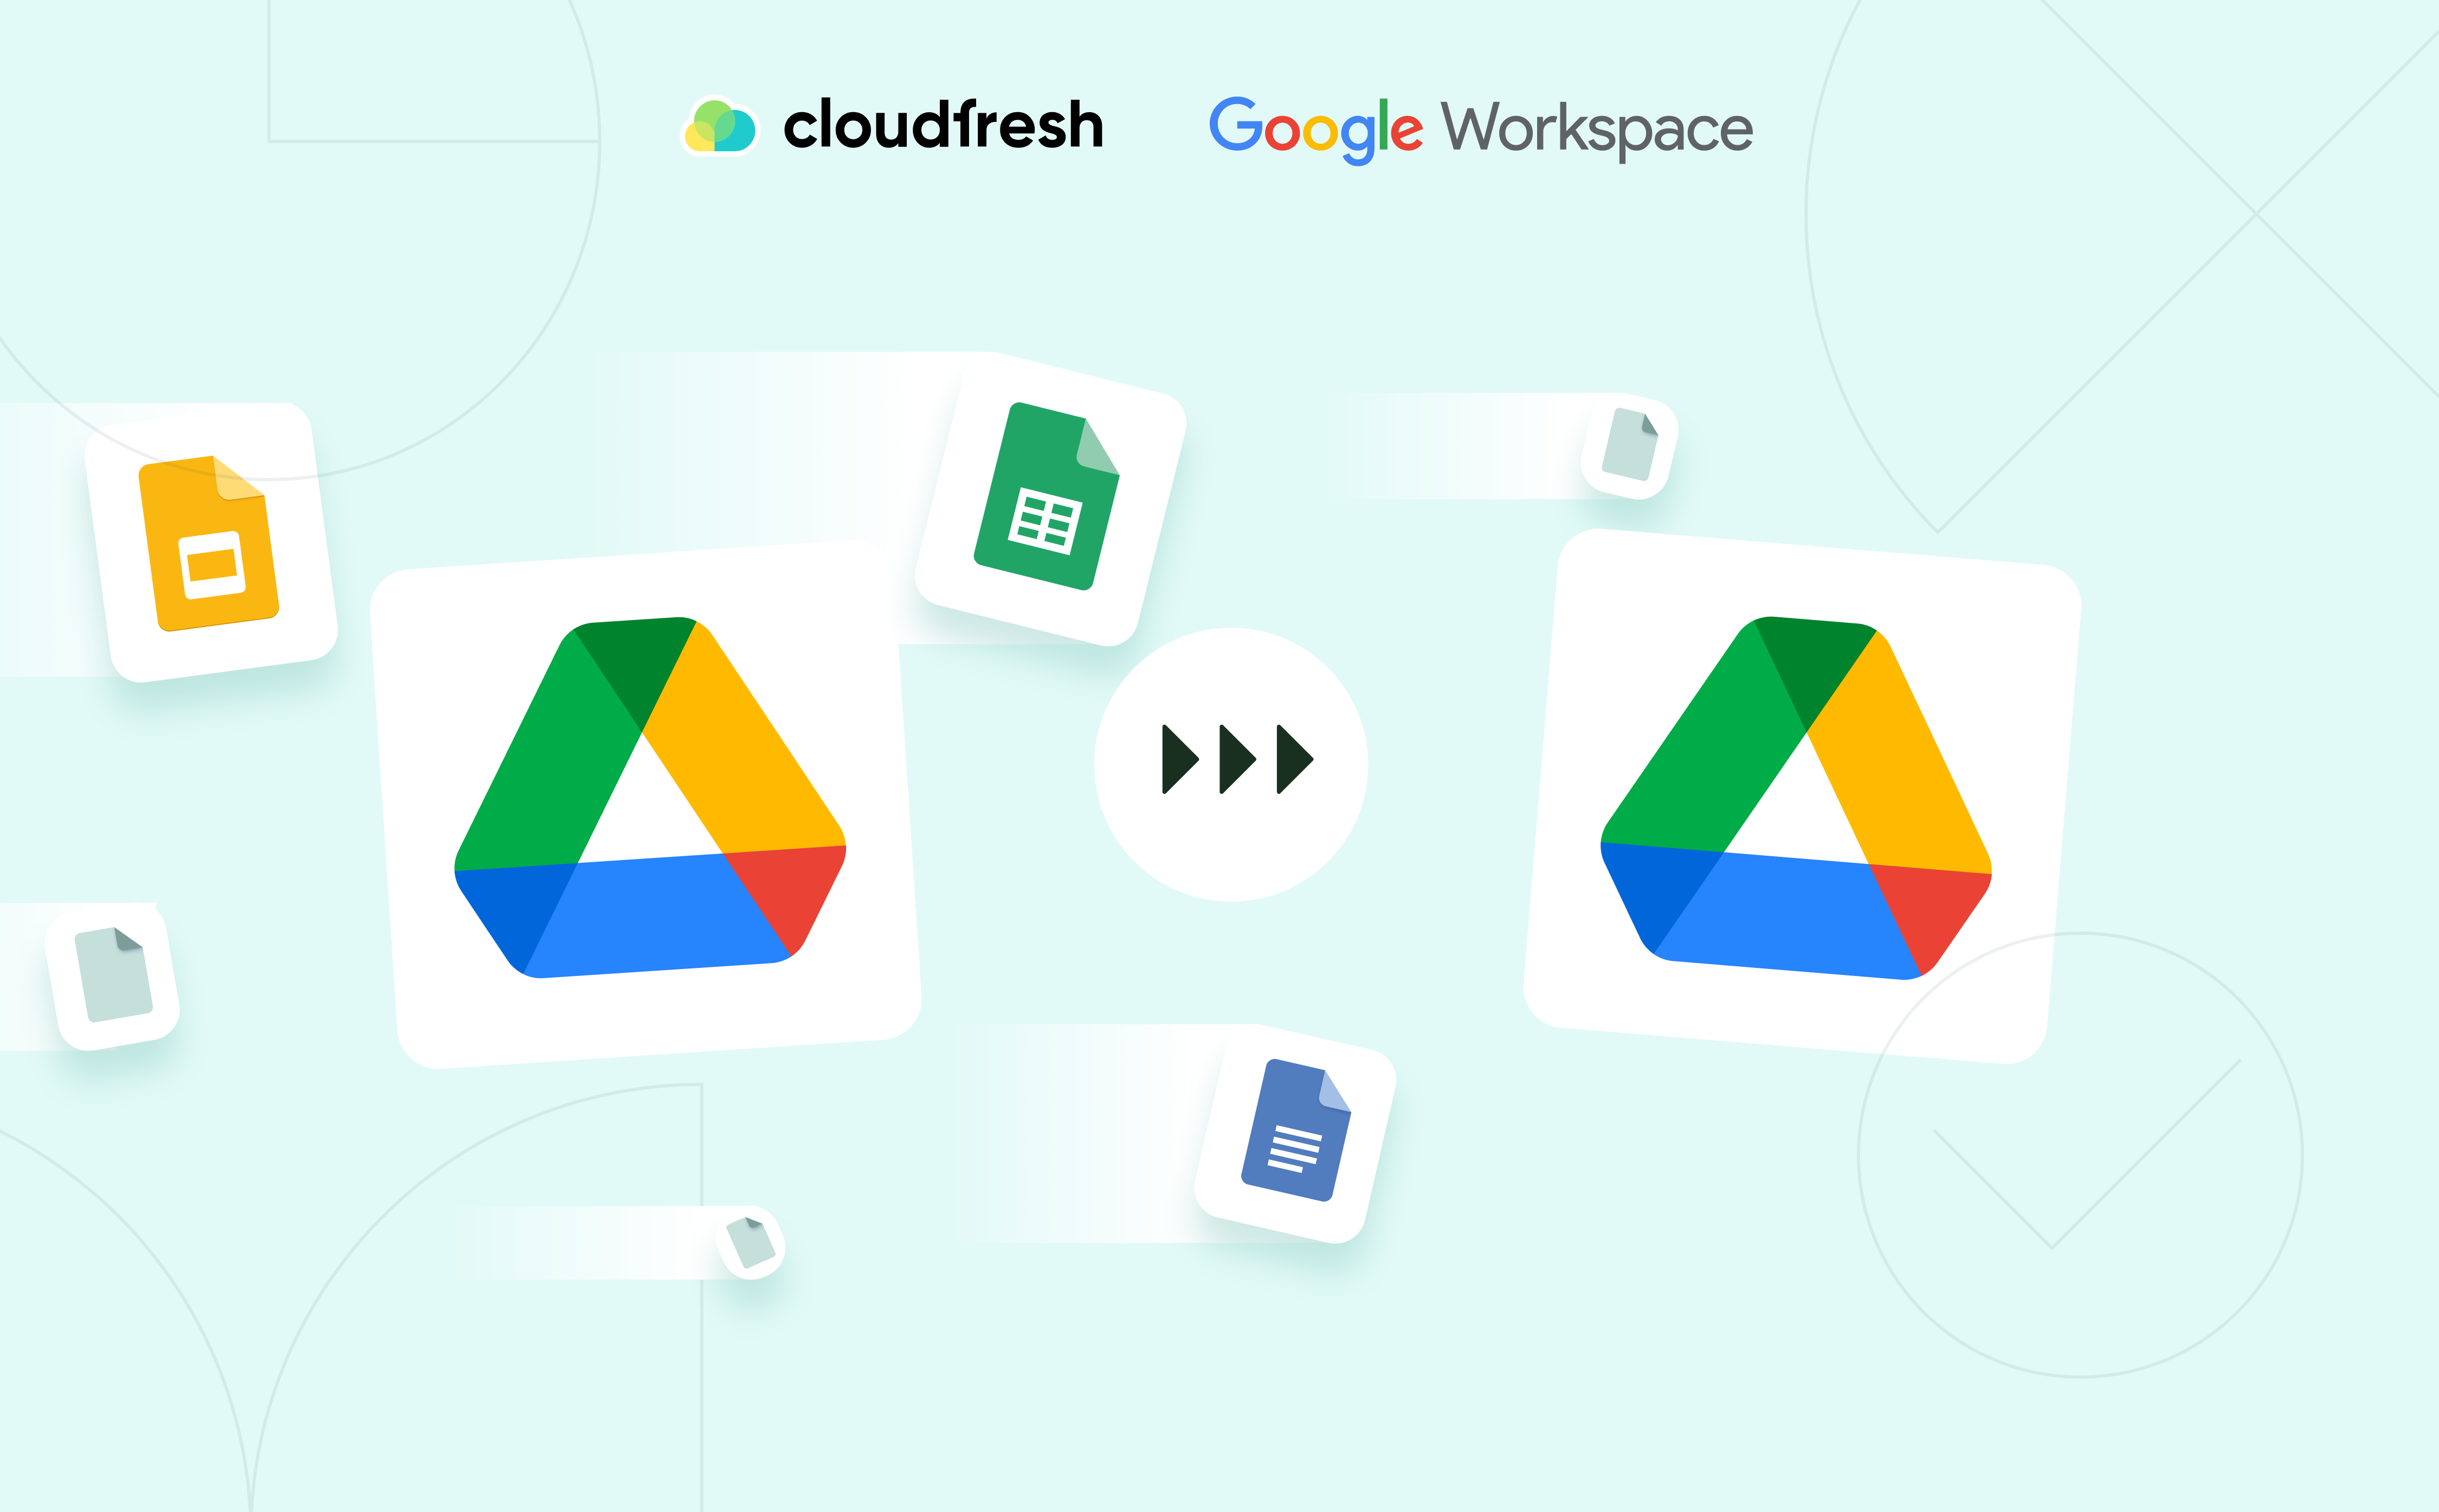


How to Effortlessly Move Your Google Drive to a New Account
Google Drive stands as a secure and invaluable tool within the Google Workspace suite, employed by millions of global teams. It facilitates file storage, seamless sharing, and collaborative efforts across mobile devices, tablets, and computers.
Sometimes, the need arises to shuffle your Google Drive files to a new destination, whether with your fresh Google account or your colleagues’ accounts. Preserving the content, structure, and formatting becomes crucial in this process.
Shifting the question “How to transfer Google Drive to another account?” involves exploring various methods.
In this blog, we offer step-by-step guidance on different approaches to moving files from one Google Drive to another, highlighting their limitations and empowering you to select the best-suited option for your needs.
Transfer Google Drive to another account: How to get things done
1. Transfer Your Google Drive Data and File Ownership to Another Account
Transferring all your Google Drive data to another Google account involves transferring ownership of the files to that account. This process is beneficial if you’re consolidating data from multiple accounts into your current one before removing the old accounts. Yet, it’s crucial to understand that this method can be time-consuming, depending on how many files you have, and involves manual effort to change ownership for each file individually. Let’s see how to migrate Google Drive to another account in a few steps:
Step 1. Sharing the files
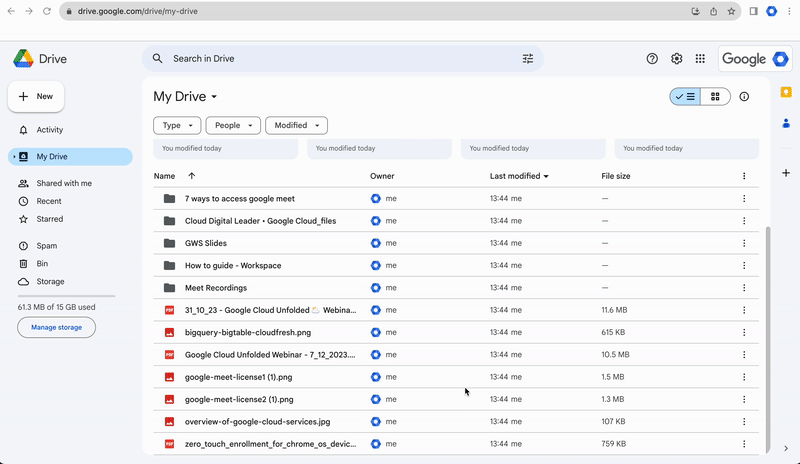
- Sign in to your Google account, and go to your Google Drive using the Google Apps button in the upper right corner.
- Select the Files and Folders you want to transfer.
- Click the Share button and enter the Gmail address. You can share it with one person or various people at once.
- Check the permissions; here, you can choose whether the person can edit, comment on, or view the files. In this case, it’s better to give the editor rights.
- Use the “Notify” option activated by default if you want people to know about your transfer.
- Finally, click the Send button.
Step 2. Transfering the ownership
Once you’ve shared the files, here’s a straightforward method to change ownership of the old Google account’s rights to the files and transfer them to another Google account. Just follow these steps:
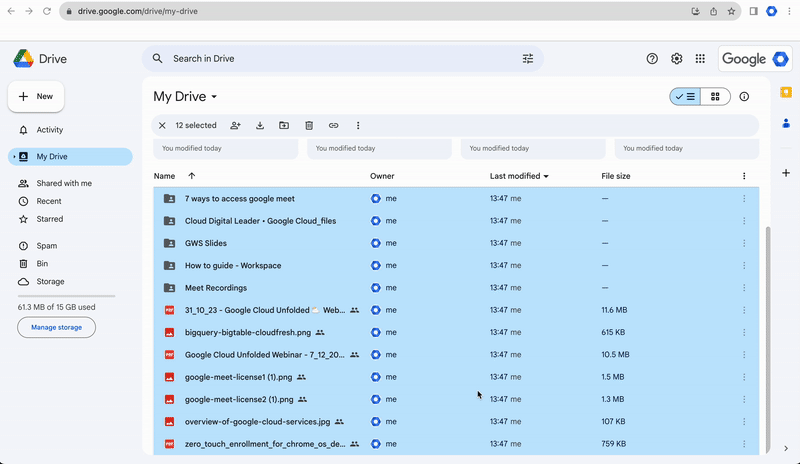
- Select all the files you want to move the ownership for, or, as in this case, you’ll already have them selected from the previous step
- Click the Share button again. Here, you’ll see the accounts you’ve just given the permissions
- Click on the drop-down menu and click on Transfer Ownership
- Finally, click the Send button again.
It’s important to note that switching ownership of a folder doesn’t extend to the files inside. Each file’s ownership within the folder needs individual attention. Follow steps 1 through 3 to ensure each file finds its new owner within the folder.
2. Transfer Your Google Drive Data By Uploading and Downloading
In case you do not have another Google Drive account to transfer your file to, you can migrate the files to a hard drive in a computer, a thumb drive, or an external hard drive.
Let’s see how to download entire Google Drive in a few steps:
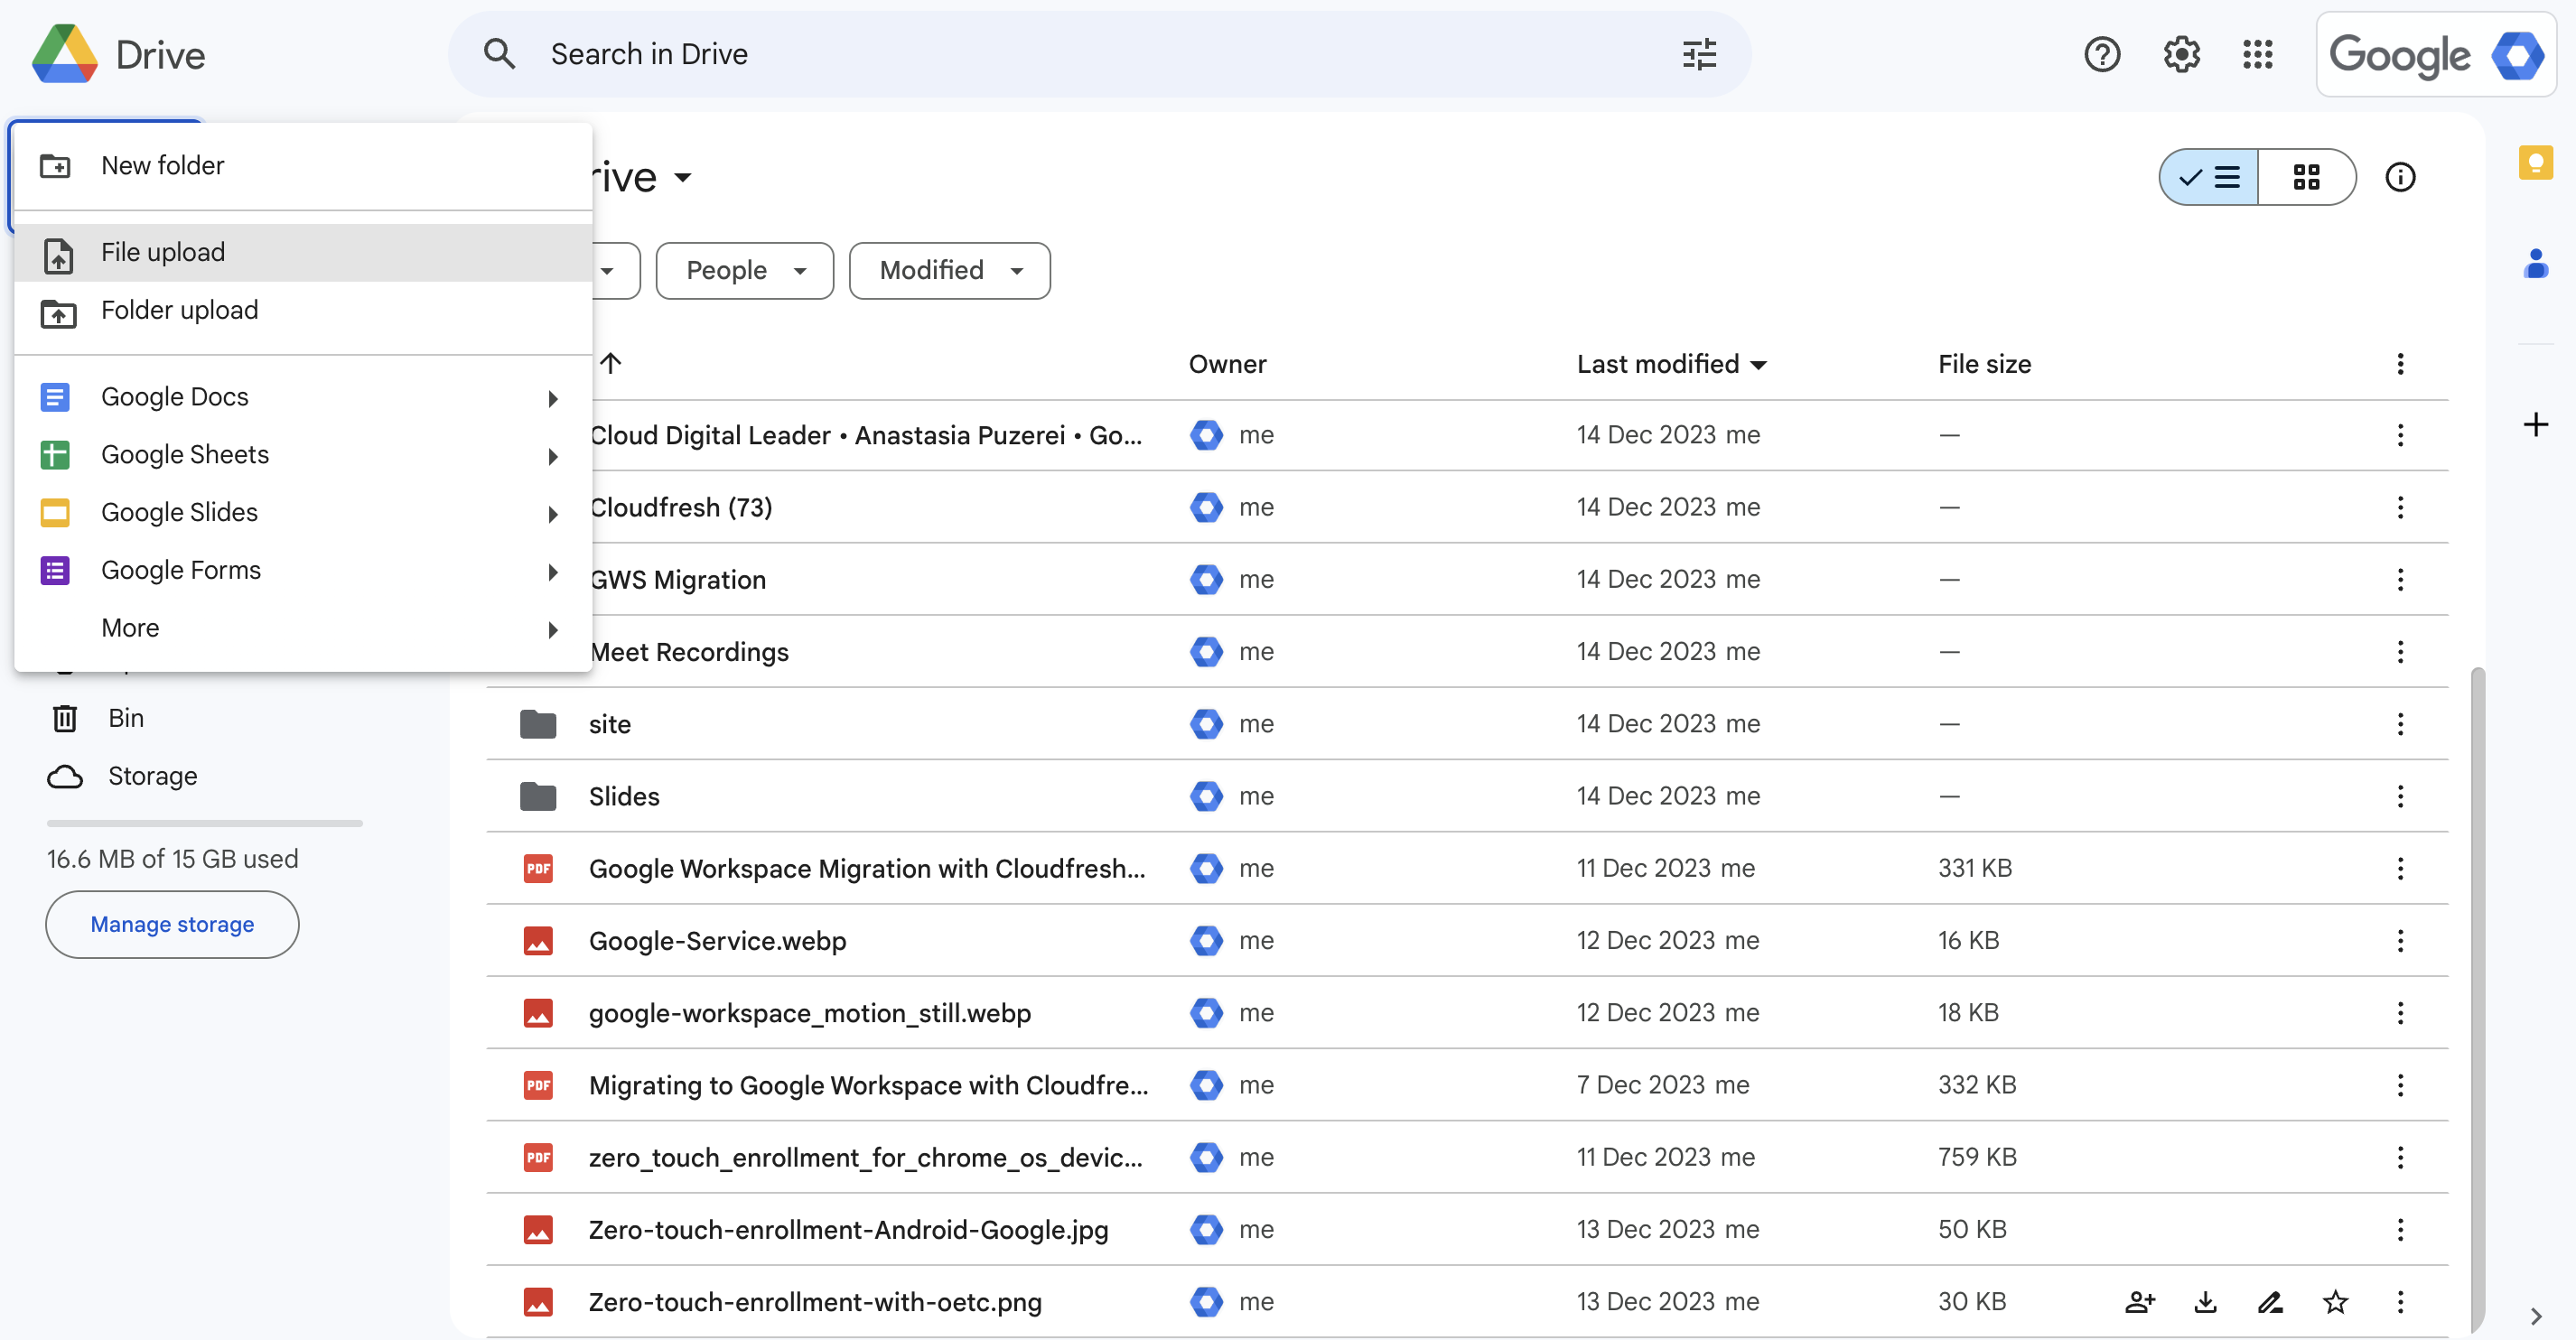
- Select the files and folders you want to transfer to the new Google account.
- Click Download. Google Drive will download these files and compress them into a zip folder.
Throughout the download, a message in the lower right corner of your Chrome browser tracks the progress. Larger downloads might take hours, so ensure a steady internet connection and keep your device powered. Once complete, a button for the downloaded zip folder will pop up in the lower-left corner — hold off on clicking it right away. Afterward, select “File Upload” in your new Google Drive to start transferring the files.
Once the upload finishes, a confirmation message will appear. You’ll spot the zip folder in your new Google account’s My Drive section. Double-click to extract the files, choosing your preferred zip extractor if needed.
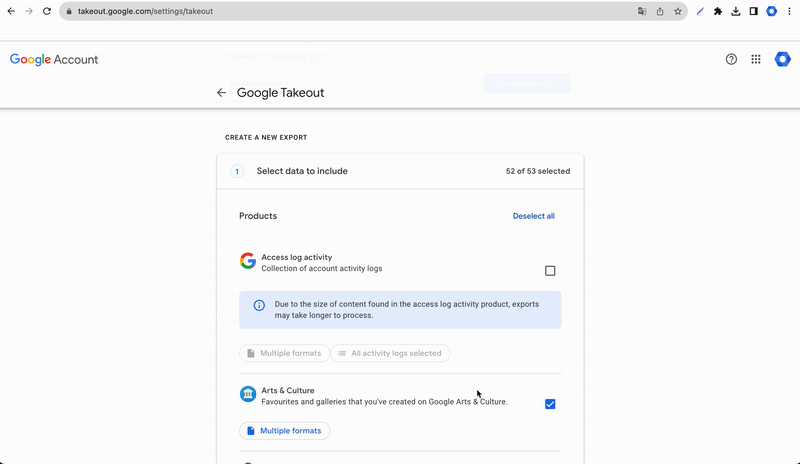
3. Export Your Google Drive Data and Files Using Google Takeout
Google Takeout is free and accessible to everyone, regardless of whether they have a paid Google One or Google Workspace plan. It can be helpful to export all your data quickly and securely and serves as a backup service for your files. So, let’s dive deeply into the step-by-step guide to your Google Drive migration using Google Takeout.
- Log in to your account within Google Takeout and select the export data.
- Initially, click “Deselect All” to start afresh, then locate and tick the checkbox beside “Google Drive” or “Drive” in the list.
- By default, Takeout includes all your Drive content for transfer, but you can refine this by clicking “All Drive Data Included” to exclude specific files or folders.
- Next, move to the bottom and click “Next Step.”
- Selecting the delivery method allows for customization, although many users stick to the default settings. This step determines how Takeout generates and dispatches the compressed file.
- Click “Create Export” to start the process. After receiving the email with the compressed file, extract it to your new account or the account you wanted to share your files.
Google Takeout specifically fetches files you’ve authored or uploaded, excluding shared items. To move shared files, download them separately from the “Shared with me” section. Remember, these files don’t contribute to your storage quota, so assess their space in your new account accordingly.
4. Transferring all the files in the Admin Console
Administrators within Google Workspace wield a powerful tool to move files between accounts via the Admin Console swiftly. This process involves just a few clicks:
- Head to Admin Console > Apps > Google Workspace > Drive and Docs.
- Choose “Transfer Ownership.”
- Select the user email for the transfer source and destination.
- Click “Transfer files” to initiate the migration.
Remember that this option is only available for the administrators of the Google Workspace; ordinary users should first get access to the Admin Console.
If you plan on retaining ownership of your files but would like to access them from a different account, try Google Workspace delegation.
Challenges & Limitations
- File sharing limits: Sharing a file in a friendly drive allows direct sharing with up to 100 groups. Administrators can set storage limits, and you can check the current storage usage and limits by accessing the Details tab in Drive.
- Data Limits: Moving from a paid to a free Google Drive version might hit data limit roadblocks. The free Drive offers only 15 GB, causing transfer errors if you exceed this cap.
- Antivirus: Stringent security programs may hinder downloads from Drive to your system. Temporarily disabling them while transferring your data could resolve this issue.
- Connection Challenges: A solid internet connection is crucial for large transfers. Overcrowded WiFi or unstable connections can cause interruptions and delays.
- Download Timelines: The download and upload process might be sluggish, stretching over several days, based on the quantity and sizes of your files.
Wrapping up
In the realm of data migration, transferring Google Drive content between accounts often poses a puzzling challenge. But fear not! We’ve unearthed the most effective methods to unravel this process, ensuring smooth migration. Mastering these techniques holds the key to a seamless transition, paving the way for secure and efficient data transfers.
Get in touch with our team of certified experts to explore managing Google Workspace tools. Enhance your skills and become a proficient navigator of this collaborative platform! Simply complete the form below, and we’ll reach out to discuss your needs, and become you Google Workspace consultant, ensuring your teams harness the full potential of its solutions.

Get in touch with Сloudfresh