


Google Meet vs. Zoom vs. Microsoft Teams: що вибрати?
Google Workspace 02.10.2023 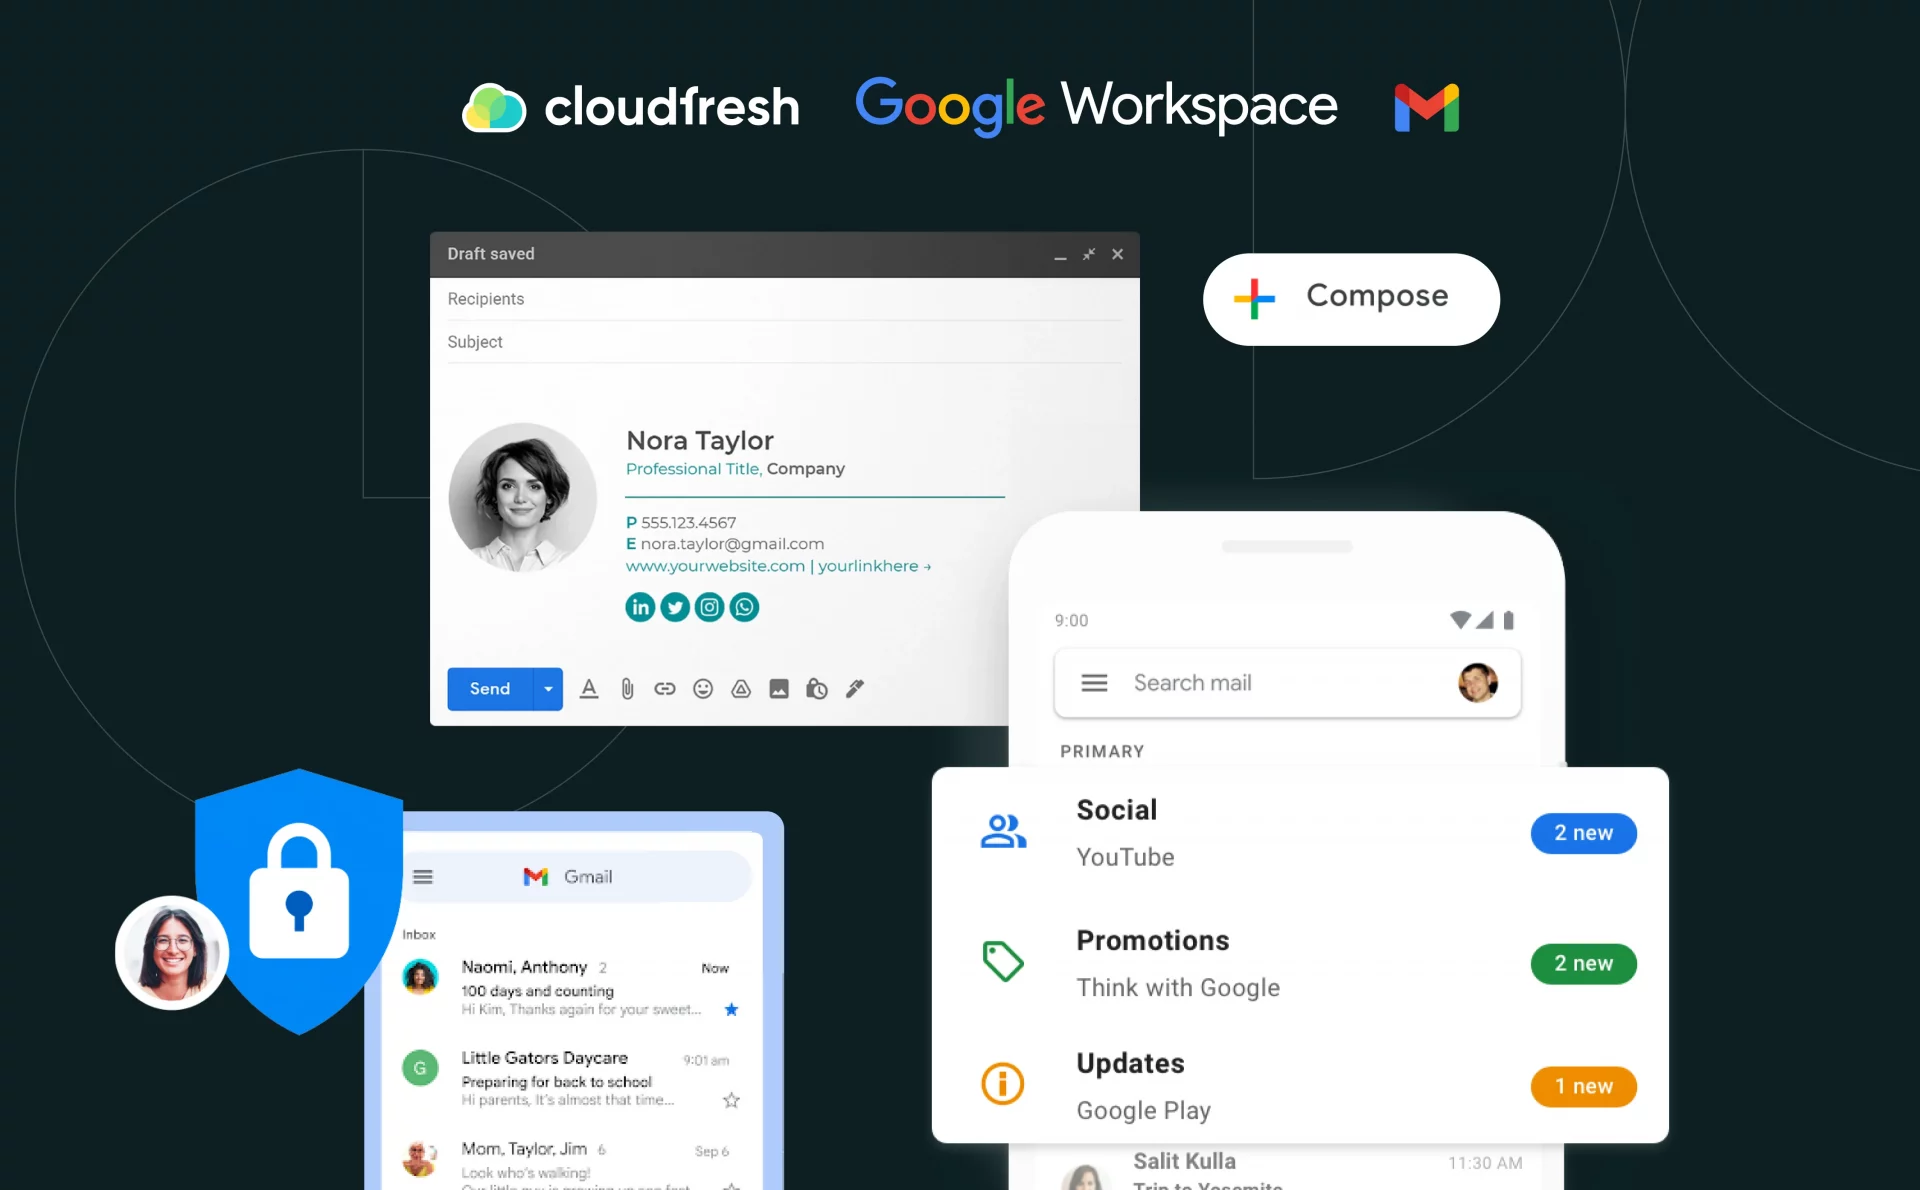


Як користуватися Gmail: покрокова інструкція
Google Workspace пропонує цілісну екосистему рішень для командної роботи та продуктивності — від Google Meet до Drive. У цьому розширеному посібнику ми детально розберемо один із найпотужніших та незамінних інструментів Google — Gmail.
Gmail — це не просто звичайна поштова платформа. Це центр для ефективної комунікації, гнучкої інтеграції та інтелектуальних функцій, що створені для вдосконалення ваших воркфлоу. Gmail допоможе вам в усьому: від оптимізації бізнес-листування та розбудови професійного іміджу до захисту скриньки від кіберзагроз.
Пропонуємо дослідити широкі можливості Gmail, дізнатися про практичні лайфхаки та розкрити повний потенціал сервісу, аби майстерно керувати корпоративною поштою за допомогою маловідомих налаштувань.
Як користуватися Gmail?
Щоб опанувати Gmail, варто вийти за межі простого написання листів та відповідей. Платформа надає багатий набір інструментів для автоматизації порядку та спрощення роботи. Нижче ми розглядаємо ключові функції — від міток до автоматизації, — які змінять ваш підхід до щоденного листування.
Мітки в Gmail
Ефективне керування поштою значною мірою залежить від чіткої структури категорій. У корпоративному листуванні мітки Gmail є основним способом упорядкування повідомлень. Мітка — це унікальний тег, який можна додати до будь-якого надісланого або отриманого листа.
На відміну від традиційних папок, одному листу можна призначити кілька міток, що робить організацію пошти гнучкішою. Розгляньмо, як ефективно використовувати мітки.
Щоб створити мітку, відкрийте Gmail, прокрутіть бічну панель ліворуч униз і натисніть значок Плюс (+) поруч із пунктом «Мітки». Введіть назву та натисніть Створити.
Видалити або змінити мітки можна за кілька кліків у вкладці налаштувань «Мітки». Після створення ви зможете легко додавати мітку до наявних листів або повністю переміщувати їх у відповідну категорію.
Як додати мітку до листа у вхідних: оберіть повідомлення, які хочете класифікувати, натисніть значок «Мітки» на верхній панелі інструментів і виберіть потрібну назву.
Отримайте повну версію нашого посібника, щоб дізнатися більше про маркування вихідних листів та керування вкладеними мітками.
Відкрийте розширені можливості Gmail Отримайте повну версію інструкції просто зараз! Отримати доступ
Категорії та вкладки вхідної пошти
Gmail дозволяє розділити вхідні повідомлення на окремі вкладки або категорії — як-от «Основні», «Соцмережі», «Оновлення», «Форуми» та «Реклама». Таке автоматичне сортування допомагає зосередитися на важливому, відфільтровуючи другорядні листи з основного вигляду.
Як керувати категоріями в Gmail:
- Відкрийте Gmail.
- Натисніть Налаштування (значок шестірні) у верхньому правому куті та виберіть «Переглянути всі налаштування».
- Перейдіть на вкладку Вхідні.
- У розділі «Категорії» позначте прапорцями вкладки, які хочете відобразити. Примітка: власні вкладки створювати не можна, можна лише вмикати або вимикати наявні.
- Прокрутіть униз і натисніть Зберегти зміни.

Щоб видалити категорії, просто виконайте ті самі дії та зніміть виділення з вкладок, які вам більше не потрібні.
Використання категорій Gmail допоможе ефективніше обробляти щоденний обсяг пошти та підтримувати порядок у робочому просторі.
Порада: якщо у вас увімкнено сповіщення, зазвичай вони спрацьовуватимуть лише для листів, що надходять у категорію Основні.
Фільтри Gmail
Фільтри дозволяють автоматизувати роботу зі скринькою, створюючи правила для вхідної пошти. Ви можете автоматично спрямовувати листи до певних міток, архівувати їх, позначати як прочитані або навіть пересилати на іншу адресу.
Покрокова інструкція зі створення фільтрів:
- Відкрийте Gmail.
- Натисніть значок Показати параметри пошуку у полі пошуку вгорі.
- Введіть критерії (наприклад, конкретний відправник або певні ключові слова).
- Натисніть Створити фільтр у нижній частині вікна пошуку.
- Виберіть дію, яку має виконати Gmail (наприклад, «Оминути вхідні» або «Застосувати мітку»).
- Натисніть Створити фільтр для завершення.

Якщо хтось відповість на повідомлення, яке ви відфільтрували, відповідь також підпаде під дію фільтра, якщо вона відповідає заданим критеріям. Щоб дізнатися, як редагувати або видаляти існуючі фільтри, скористайтеся повним посібником нижче.
Порада: пам’ятайте, що фільтри застосовуються лише до нових вхідних повідомлень, а не до тих, що вже наявні у вашій скриньці.
Дізнайтеся більше, завантаживши повну версію Отримати доступ
Кілька папок «Вхідні» у Gmail
Функція «Кілька папок “Вхідні”» дозволяє додавати додаткові розділи до основного інтерфейсу Gmail. Це ідеально підходить для користувачів із великим обсягом пошти, яким потрібно бачити листи із зірочкою, чернетки або специфічні проєкти поруч із основною скринькою.
Керування кількома папками схоже на роботу зі стандартною скринькою, проте воно потребує уваги до кількох панелей одночасно.
Як налаштувати кілька папок «Вхідні»:
- Відкрийте Gmail на комп’ютері.
- Натисніть Налаштування у верхньому правому куті.
- У розділі «Тип папки “Вхідні”» виберіть Кілька папок “Вхідні”.
- Введіть критерії пошуку для кожного розділу (наприклад,
is:starredдля листів із зірочкою). - Дайте назву кожному розділу в полі «Назва розділу».
- Виберіть бажаний макет у пункті «Розташування кількох папок “Вхідні”».
- Натисніть Зберегти зміни внизу сторінки.
Порада щодо пошуку: щоб знайти листи від конкретного відправника, використовуйте лапки: “from:[email protected]”.
Smart Compose (Розумне введення)
Працюючи на базі машинного навчання, функція Smart Compose пропонує варіанти завершення речень під час написання тексту, що допомагає готувати листи швидше. Ці підказки з’являються як у Gmail, так і в Google Chat.
Як керувати Smart Compose:
- Відкрийте Gmail.
- Перейдіть у Налаштування > Переглянути всі налаштування.
- На вкладці Загальні прокрутіть униз до розділу «Розумне введення».
- Виберіть Увімкнути підказки для написання тексту або Вимкнути.

Докладнішу інформацію щодо персоналізації цих підказок під ваш стиль письма ви знайдете в повній версії нашого посібника.
Примітка: наразі Smart Compose підтримує англійську, іспанську, французьку, італійську та португальську мови. Підтримка Gemini (ШІ) значно розширює ці можливості для інших локалізацій в рамках Enterprise-планів.
Дізнайтеся більше про Smart Compose та інші функції Зрозумійте, як адаптувати Gmail під свої потреби, отримавши повний посібник. Дізнатися більше
Списки розсилки
Вводити вручну кожного отримувача для листа команді — це довго та загрожує помилками. Щоб вирішити цю проблему, ви можете створити список розсилки за допомогою Google Контактів.
Це дозволяє об’єднувати групу людей під однією міткою, оптимізуючи комунікацію та заощаджуючи дорогоцінний час.
Як створити список розсилки:
- Увійдіть у Gmail і відкрийте Контакти через меню додатків.
- Виберіть контакти, які хочете згрупувати.
- Натисніть Створити мітку.
- Дайте назву мітці (наприклад, «Відділ продажів») і натисніть Зберегти.
Тепер просто введіть назву мітки в полі «Кому», аби надіслати повідомлення всій групі одночасно.

Списки розсилки — це найефективніший спосіб керування групами контактів, який гарантує, що ніхто не пропустить важливі оновлення.
Порада: надсилаючи лист групі, використовуйте поле «Прихована копія» (BCC), якщо хочете зберегти адреси отримувачів конфіденційними один від одного.
Автовідповідач
Незалежно від того, чи йдете ви у відпустку, чи працюєте там, де є проблеми зі зв’язком, автовідповідач повідомить колегам та клієнтам, що ви не можете відповісти миттєво.
Як налаштувати статус «Відсутній на роботі»:
- У Gmail перейдіть у Налаштування > Переглянути всі налаштування.
- Прокрутіть униз до розділу Автовідповідач.
- Виберіть Увімкнути автовідповідач.
- Вкажіть дати, введіть тему та текст повідомлення.
- Позначте прапорцем пункт, якщо хочете, щоб відповідь бачили лише ваші контакти.
- Натисніть Зберегти зміни внизу.
Також ви можете дізнатися більше про налаштування відпустки в Google Календарі у нашому спеціальному дописі.

Коли автовідповідач активний, угорі скриньки з’явиться банер. Ви можете вимкнути його в будь-який момент, натиснувши «Завершити зараз».
Порада: Gmail не надсилатиме автовідповідь на повідомлення, ідентифіковані як спам, або на листи з масових розсилок, на які ви підписані.
Дізнайтеся більше про автовідповідач у Gmail вже зараз! Дізнатися більше