


Google Meet vs. Zoom vs. Microsoft Teams Which one to choose?
Google Workspace 02.10.2023 


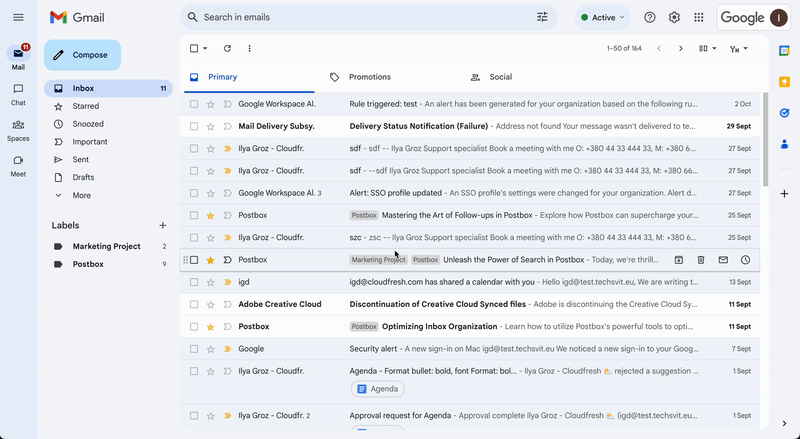
Unlocking Gmail’s Potential: A Step-by-Step Guide
Google Workspace offers a seamless suite of solutions where collaboration and productivity meet, from Google Meet to Drive. In this comprehensive guide, we will dive deep into one of Google’s most powerful and essential tools: Gmail.
Gmail isn’t just your average email platform; it’s a hub for efficient communication, robust integration, and intelligent features designed to elevate your workflow. Whether you’re looking to streamline business communications, build professional credibility, or protect your inbox from security threats, Gmail has you covered.
Let’s explore Gmail’s extensive capabilities, discover practical hacks, and unlock its full potential to help you master corporate mail management with lesser-known tips and tricks.
How to use Gmail?
To master Gmail, you need to look beyond simple composing and replying. The platform provides a rich set of tools designed to automate organization and simplify your workflow. Below, we break down the essential features—from labels to automation—that will transform how you handle your daily correspondence.
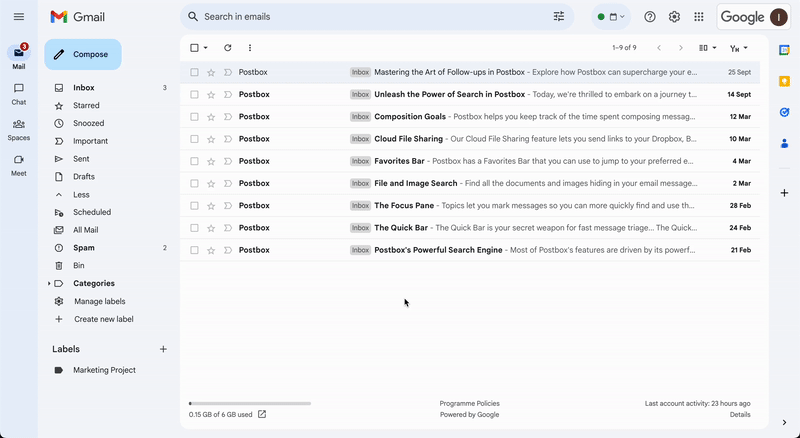
Gmail Labels
Effective email management relies heavily on well-structured categorization. In corporate mailing, Gmail labels act as the primary way to organize your messages. A label is a unique tag that you can add to any email you send or receive.
Unlike traditional folders, a single email can have multiple labels assigned to it, allowing for a more versatile organizational approach. Let’s look at how to use labels effectively.
To create one, open Gmail, scroll down the left-hand sidebar, and click the Plus (+) sign next to “Labels.” Name your new label and click Create.
If you need to delete or edit labels, you can do so in just a few clicks within the “Labels” settings tab. Once created, you can easily apply a label to an existing message or move a message entirely to a specific label category.
To apply a label to an inbox message: Select the messages you want to categorize, click the “Labels” icon in the top toolbar, and choose the desired label.
Access the full version of our guide to discover more insights on how to label outgoing messages and how to manage nested labels.
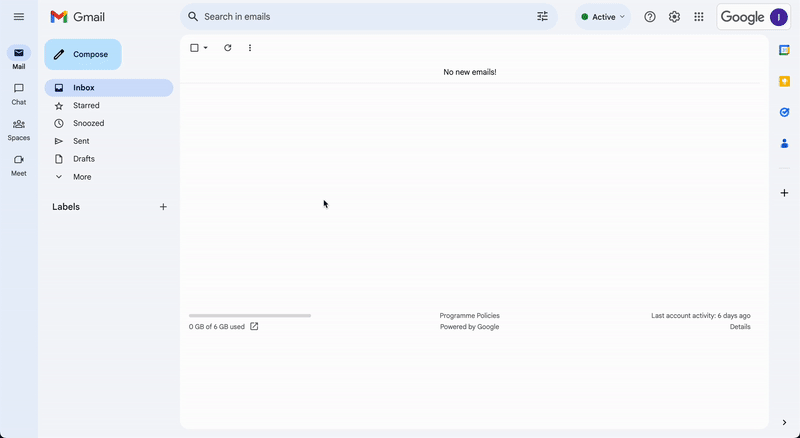
Inbox Categories & Tabs
Gmail allows you to divide your inbox into distinct tabs or categories, such as Primary, Social, Updates, Forums, and Promotions. This automatic sorting helps you stay focused by filtering non-essential emails out of your main view.
How to manage categories in Gmail:
- Open Gmail.
- Click the Settings (gear icon) at the top right and select “See all settings.”
- Navigate to the Inbox tab.
- In the “Categories” section, check the boxes for the tabs you want to display. Note: You cannot create custom tabs; you can only toggle the existing ones.
- Scroll down and click Save Changes.

To remove categories, simply follow the same steps and uncheck the tabs you no longer wish to see.
Using Gmail categories will help you manage your daily mail volume more effectively and keep your workspace clutter-free.
Tip: If you have notifications enabled, they will typically only trigger for emails arriving in your Primary category.
Gmail Filters
Filters allow you to automate your inbox by creating specific rules for incoming mail. You can automatically direct emails to labels, archive them, mark them as read, or even forward them to another address.
Step-by-step guide to creating filters:
- Open Gmail.
- Click the Show search options icon inside the search box at the top.
- Enter your criteria (e.g., from a specific sender or containing certain keywords).
- Click Create filter at the bottom of the search window.
- Choose the action you want Gmail to take (e.g., “Skip the Inbox” or “Apply label”).
- Click Create filter to finalize.

If someone replies to a message you've filtered, the reply will also be filtered if it matches your criteria. To learn how to edit or delete existing filters, access our full guide below.
Tip: Remember that filters only apply to new incoming messages, not those already in your inbox.
Explore more by downloading the full guide Get it now
Multiple Inboxes in Gmail
Multiple inboxes allow you to add extra sections to your primary Gmail view. This is perfect for high-volume users who need to see their starred emails, drafts, or specific projects alongside their main inbox.
Managing multiple inboxes is similar to a standard inbox, but it requires keeping an eye on several panes at once.
How to set up Multiple Inboxes:
- Open Gmail on your computer.
- Click Settings at the top right.
- Under “Inbox type” select Multiple Inboxes.
- Enter search criteria for each section (e.g.,
is:starredfor starred emails). - Give each section a name under “Section name”.
- Choose your preferred layout under “Multiple Inbox position”.
- Click Save Changes at the bottom.
Search Tip: To find emails from a specific address, use double quotes: “from:[email protected]”.
Smart Compose
Powered by machine learning, Smart Compose offers predictive suggestions as you type, helping you draft emails faster. These suggestions appear in both Gmail and Google Chat.
How to manage Smart Compose:
- Open Gmail.
- Go to Settings > See all settings.
- In the General tab, scroll down to “Smart Compose.”
- Select Writing suggestions on or off.

For more details on personalizing these suggestions to match your writing style, refer to the full version of our guide.
Note: Smart Compose currently supports English, Spanish, French, Italian, and Portuguese. La prise en charge de Gemini (IA) étend considérablement ces possibilités à d'autres localisations dans le cadre des plans Enterprise.
Dive deeper into Smart Compose and more Learn how to tailor Gmail to your specific needs by getting the complete guide. Learn more
Distribution Lists
Manually typing out every recipient for a team-wide email is time-consuming and prone to errors. To solve this, you can create a distribution list using Google Contacts.
This allows you to group multiple individuals under a single label, streamlining your communication and saving valuable time.
How to create a distribution list:
- Log in to Gmail and open Contacts from the App Menu.
- Select the contacts you want to group.
- Click Create label.
- Name your label (e.g., “Sales Team”) and click Save.
Now, simply type the label name in the “To” field of your email to message the entire group at once.

Distribution lists are the most efficient way to manage contact groups and ensure no one is left out of important updates.
Tip: When emailing a group, consider using the BCC field if you want to keep recipient addresses private from one another.
Vacation Responder
Whether you’re heading on vacation or working in an area with limited connectivity, the Vacation Responder lets people know you may be slow to respond.
How to set up an Out-of-Office reply:
- In Gmail, go to Settings > See all settings.
- Scroll down to the Vacation responder section.
- Turn Vacation responder on.
- Select your dates and enter your subject line and message.
- Check the box if you only want your contacts to see the reply.
- Click Save Changes at the bottom.
You can also learn more about Google Calendar vacation settings in our dedicated blog post.

When active, a banner will appear at the top of your inbox. You can disable it at any time by clicking "End now".
Tip: Gmail will not send your auto-reply to messages identified as spam or to mailing lists you are subscribed to.
Learn more about the vacation responder in Gmail now! Explore more